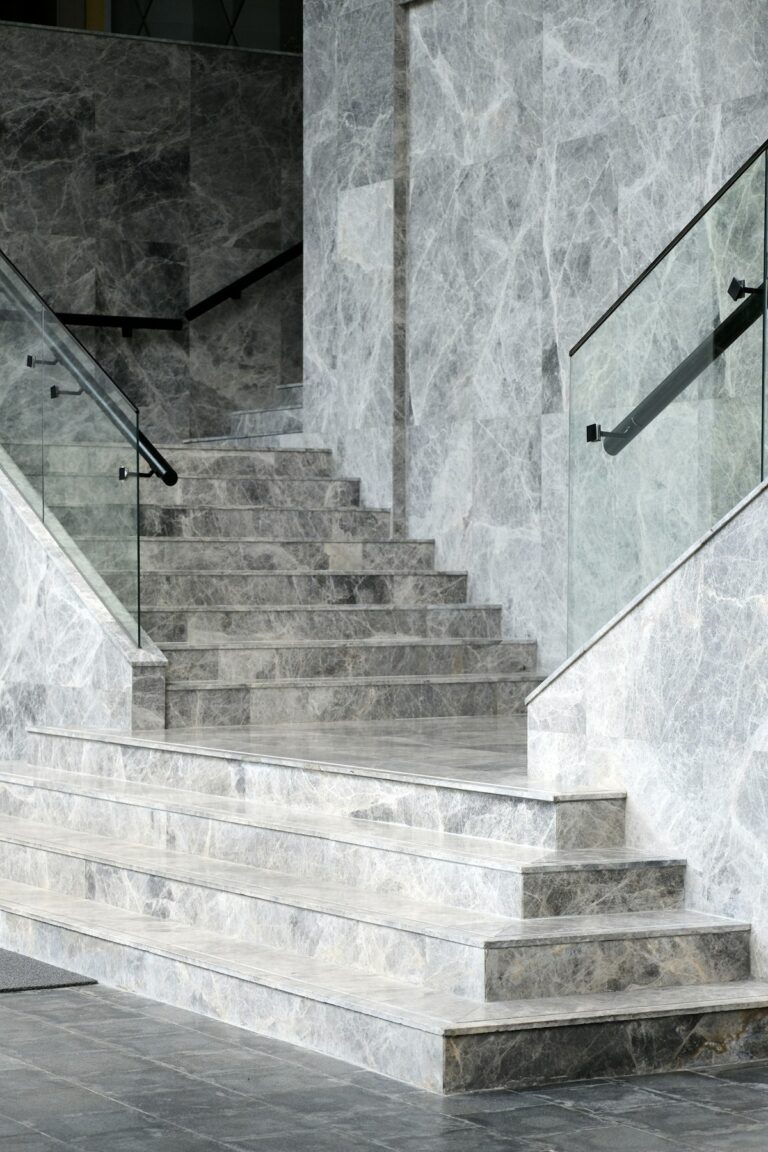
Installing a frameless glass railing yourself keeps the labor in your pocket: labor typically adds $50 to $150+ per linear foot, and a professionally installed glass railing runs $110 to $220+ per linear foot all-in. With basic DIY skills, the right tools, and this complete guide, you can complete a typical deck railing in 4-8 hours.
Tools You’ll Need
Hammer drill with masonry bits (for concrete) or cordless drill with wood bits. 5mm and 6mm Allen keys (Hex keys). Adjustable wrench. Level (24″ minimum). Tape measure. Chalk line. Safety glasses + work gloves. Marker / pencil. Vacuum cleaner (for drilling debris).
Before You Start
Step 1: Verify Your Substrate
Concrete: minimum 4″ thick, no cracks. Wood deck: 2×10 minimum joists, blocking required every 4 feet. Steel: structural engineer review recommended.
Step 2: Verify Building Code Compliance
Check local height requirements: typically 36″ minimum for elevated decks (42″ in some jurisdictions) — confirm with your local building department. Verify spigot spacing meets guard-load requirements: a 200 lb concentrated load and 50 lb per linear foot (IRC/IBC).
Step 3: Measure Twice, Order Once
Measure perimeter to nearest inch. Add 10% for waste/cuts. Note all 90° corners (require connectors). Identify door/gate locations.
Installation Steps
Step 1: Mark Spigot Locations
Snap chalk line along railing path. Mark spigot positions: 2 spigots per panel, spaced equally, first spigot 4-6″ from panel edge.
Step 2: Drill Mounting Holes
Use bit size matching your anchors (typically 5/8″). Depth: 3″ minimum for concrete, 2.5″ for wood. Vacuum debris after each hole.
Step 3: Install Spigots
Insert anchor bolts. Hand-tighten spigot to anchor. Level spigot using built-in adjustment screws. Final torque: 25 ft-lbs (do not over-tighten).
Step 4: Install Glass Panels
Two-person job (panels are heavy). Lower panel into spigot grooves. Insert rubber gaskets (prevents glass-to-metal contact). Tighten clamping bolts evenly.
Step 5: Add Connectors (Corners)
Position 90° connector at corner. Attach top of both panels. Verify panels are flush.
Step 6: Install Gate Hardware (if applicable)
Mount hinges to gate post. Adjust spring tension. Install latch. Test self-closing function. For pool fencing, self-closing, self-latching gates are a code requirement — don’t skip this.
Pro Tips
Tip 1: Use the Included Rubber Gaskets
Skipping the gaskets causes glass-to-metal contact, which leads to micro-cracks over time. Use them, every time.
Tip 2: Tighten Progressively, Not All at Once
Tighten all spigots to hand-tight first, then to 50%, then to final torque. This prevents stress fractures.
Tip 3: Apply Silicone Sealant at Substrate Joints
Prevents water infiltration. Use clear silicone for invisible finish.
Tip 4: Test Before Final Tightening
Push gently on each panel to verify proper seating before final torque.
Configure Your Project
Use our free online configurator to: visualize your design in 2D, get instant pricing, generate a parts list, and order with confidence. New to frameless systems? Start with our frameless glass railing overview.
Ready to price your project?
Use our free 2D configurator to visualize your glass railing and get instant pricing.
Design my railing