Installer vous-même une rampe en verre sans cadre garde la main-d'œuvre dans vos poches : la main-d'œuvre ajoute typiquement de 50 $ à 150 $ et plus le pied linéaire, et une rampe installée par un professionnel revient de 110 $ à 220 $ et plus le pied linéaire tout compris. Avec des compétences DIY de base, les bons outils et ce guide complet, vous pouvez réaliser une rampe de terrasse typique en 4 à 8 heures.
Les outils qu'il vous faut
Perceuse à percussion avec mèches à maçonnerie (pour le béton) ou perceuse sans fil avec mèches à bois. Clés Allen 5 et 6 mm. Clé ajustable. Niveau (24 po minimum). Ruban à mesurer. Cordeau à craie. Lunettes de sécurité + gants de travail. Marqueur / crayon. Aspirateur (pour les débris de perçage).
Avant de commencer
Étape 1 : vérifiez votre substrat
Béton : minimum 4 po d'épaisseur, sans fissures. Terrasse de bois : solives 2×10 minimum, renfort requis aux 4 pieds. Acier : révision par un ingénieur en structure recommandée.
Étape 2 : vérifiez la conformité au code du bâtiment
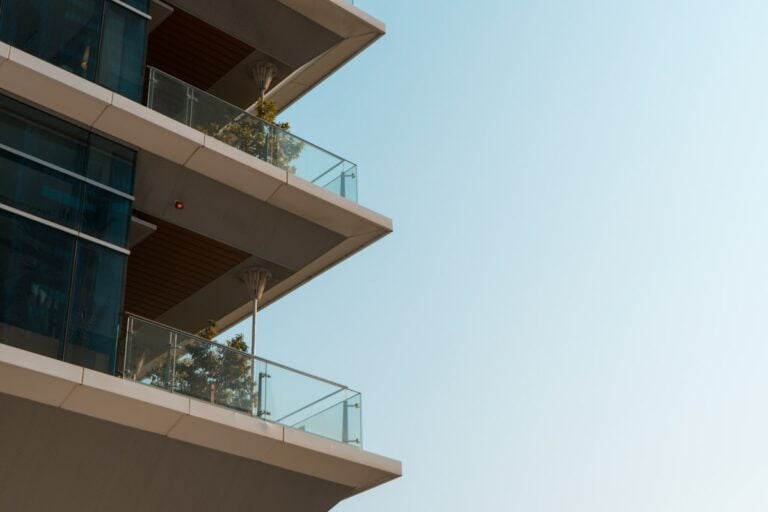
Vérifiez les hauteurs requises localement : typiquement 36 po minimum pour les terrasses surélevées (42 po dans certaines juridictions) — confirmez auprès de votre service du bâtiment. Vérifiez que l'espacement des spigots répond aux charges de garde-corps : une charge concentrée de 200 lb et 50 lb par pied linéaire (IRC/IBC).
Étape 3 : mesurez deux fois, commandez une fois
Mesurez le périmètre au pouce près. Ajoutez 10 % pour les pertes et coupes. Notez tous les coins à 90° (connecteurs requis). Repérez les emplacements de portes.
Les étapes d'installation
Étape 1 : marquez l'emplacement des spigots
Tracez un cordeau le long du parcours de la rampe. Marquez les positions : 2 spigots par panneau, également espacés, le premier à 4-6 po du bord du panneau.
Étape 2 : percez les trous de fixation
Utilisez la mèche correspondant à vos ancrages (typiquement 5/8 po). Profondeur : 3 po minimum dans le béton, 2,5 po dans le bois. Aspirez les débris après chaque trou.
Étape 3 : installez les spigots
Insérez les boulons d'ancrage. Serrez le spigot à la main. Mettez-le de niveau avec les vis d'ajustement intégrées. Couple final : 25 pi-lb (ne pas trop serrer).
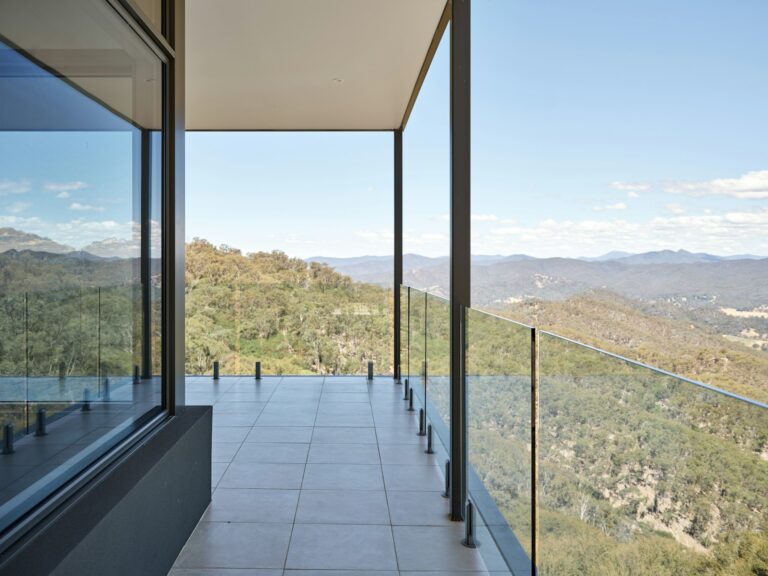
Étape 4 : posez les panneaux de verre
Travail à deux (les panneaux sont lourds). Descendez le panneau dans les rainures des spigots. Insérez les joints de caoutchouc (évite le contact verre-métal). Serrez les boulons de serrage uniformément.
Étape 5 : ajoutez les connecteurs (coins)
Positionnez le connecteur 90° au coin. Fixez le haut des deux panneaux. Vérifiez l'affleurement.
Étape 6 : installez la quincaillerie de porte (le cas échéant)
Montez les pentures sur le poteau de porte. Ajustez la tension du ressort. Installez le loquet. Testez la fermeture automatique. Pour les clôtures de piscine, les portes à fermeture et verrouillage automatiques sont exigées par le code — ne sautez pas cette étape.
Astuces de pro
Astuce 1 : utilisez les joints de caoutchouc fournis
Sauter les joints crée un contact verre-métal qui mène à des microfissures avec le temps. Utilisez-les, chaque fois.
Astuce 2 : serrez progressivement, pas d'un coup
Serrez tous les spigots à la main d'abord, puis à 50 %, puis au couple final. Ça prévient les fissures de contrainte.
Astuce 3 : appliquez un scellant silicone aux joints de substrat
Prévient les infiltrations d'eau. Silicone clair pour une finition invisible.
Astuce 4 : testez avant le serrage final
Poussez doucement sur chaque panneau pour vérifier l'assise avant le couple final.
Configurez votre projet
Utilisez notre configurateur en ligne gratuit pour : visualiser votre design en 2D, obtenir un prix instantané, générer la liste de pièces et commander en confiance. Des questions pendant l'installation ? Appelez-nous au (514) 952-2336 — notre équipe répond en français. Nouveau aux systèmes sans cadre ? Commencez par notre aperçu des rampes en verre sans cadre.
Prêt à concrétiser votre projet ?
Utilisez notre configurateur 2D gratuit pour visualiser votre rampe en verre et obtenir un prix instantané.
Configurer mon projet